
I have been wanting a houseplant for so so long, but I finally got my first one last night! I wanted to make sure whatever I grabbed wasn’t harmful to my dog or cat. I stood in front of the houseplant section for what seemed like a decade before I picked this little guy up.
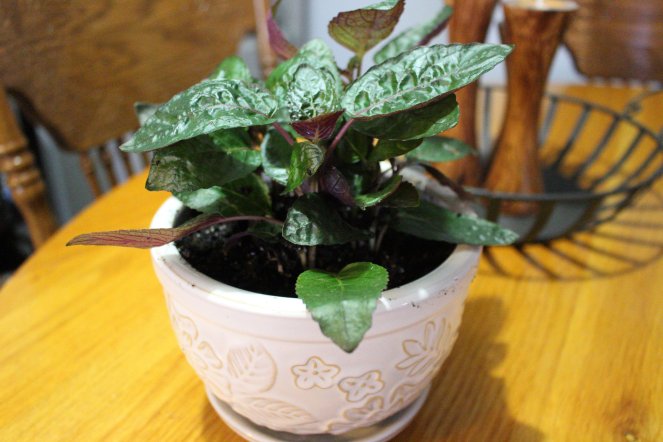
It’s called Hemigraphis alternata, or Waffle Ivy or Red Ivy. I just love the color under the leaves, which is a dark red or deep purple! I also picked up this container. Isn’t it adorable? This ivy will eventually go into a hanging planter, but until I find one I like, this is what it is going in.
I re-potted it this morning, and I want to show you how I did it.
1. I always put pebbles or gravel at the bottom of any container I put plants into.
This helps with drainage of excess water. This ivy also likes humidity, so having water at the bottom will help keep the soil moist, but not soaking wet.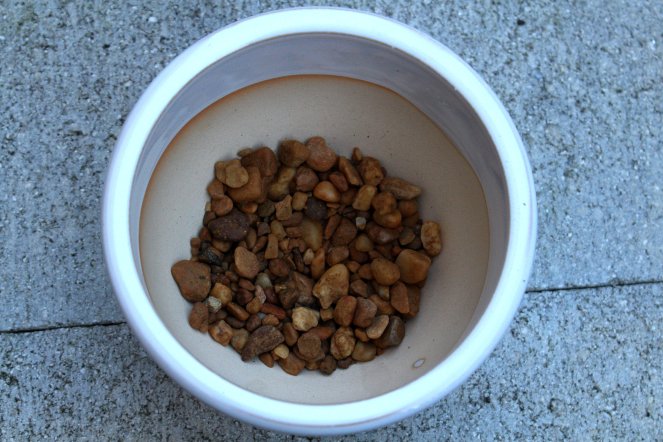
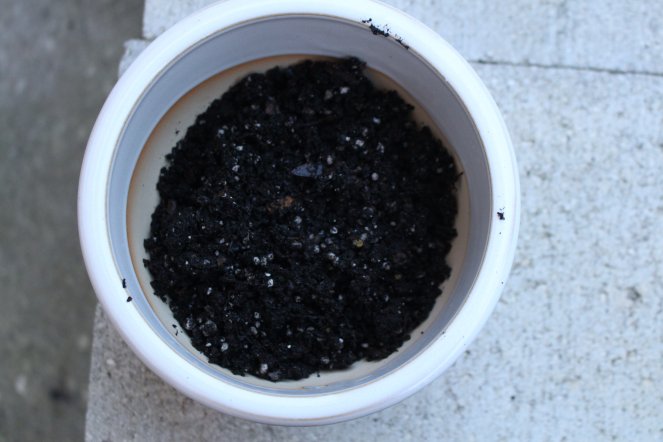
2. I put in some fertilizer and my potting soil.
Not using anything fancy here, just some Miracle Grow.
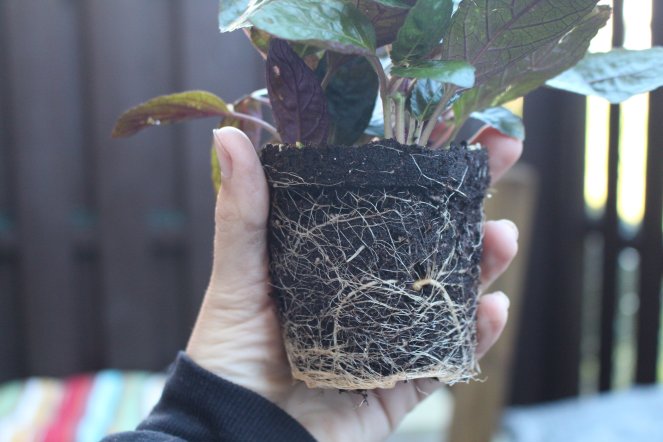
3. Take ivy out of pot and put it in container.
Isn’t this root system crazy? Its finally going to have more room to breathe! I always pull the roots out of that crazy mess you see at the bottom so they won’t keep growing in that spiral pattern and eventually choke themselves out.
4. Cover the rest with potting soil.
I also pack it a tad, but not too crazy so the roots have problems growing.
5. Put in a lovely spot where the ivy will still get ambient light.
This isn’t it’s forever home, but it will be here until I get a hanging planter.

I can’t wait to see how this beautiful ivy grows! I love seeing houseplants spilling over their container!

Great job- I just got a new one two and worried about my dog and cats too when buying.
LikeLike
I won’t bring anything in my house that isn’t cat and dog friendly 🙂
LikeLike